WoW Midnight Pit of Saron Guide, Boss Tips for Mythic+
WoW Midnight Pit of Saron guide for Mythic+. Learn the key boss mechanics, trash interrupts, tank and healer tips, and the fastest ways to keep this frozen quarry from eating your key.
NoobSidious
3/28/20268 min read
Greetings, Denizens of the Azeroth Galaxy!
Pit of Saron is one of the returning dungeons in Midnight Season 1, joining the active Mythic+ pool after its Midnight refresh. It reopened on Normal earlier in 12.0.1, then Heroic and Mythic unlocked when Season 1 began.
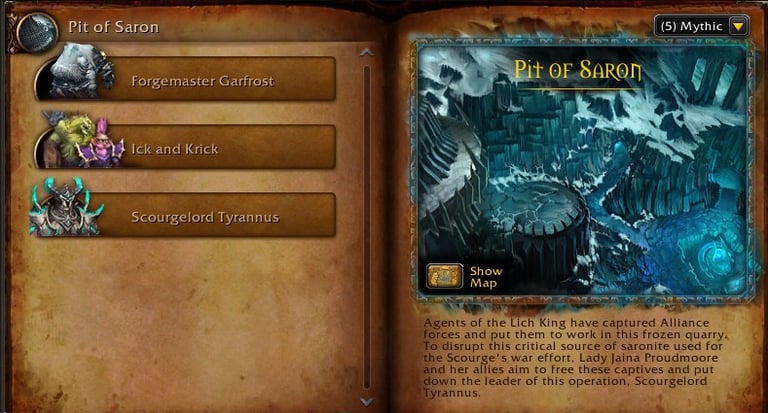
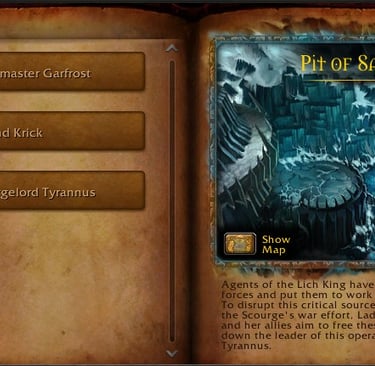
💭 Agents of the Lich King have captured Alliance forces and put them to work in this frozen quarry. To disrupt this critical source of saronite used for the Scourge's war effort, Lady Jaina Proudmoore and her allies aim to free these captives and put down the leader of this operation, Scourgelord Tyrannus.
This place is a frozen quarry full of Scourge cruelty, saronite labor, giant bats, plague puddles, and one final boss who believes skeletons are a personality trait. I like the atmosphere of the place, but not of getting punted into disaster because someone ignored the mechanic again.
🌀The Innkeeper’s Note (TL;DR)
In Pit of Saron, if your group interrupts on time, places mechanics cleanly, and respects the hiding spots and corpse piles, the run feels steady. If not, it becomes a chilly lesson in regret.
Trash still matters. Big casts, frontals, and random pull overlap can make the run ugly before a boss even starts.
Garfrost is a positioning fight. Place the ore correctly, hide correctly, and do not turn the room into a bad snow globe.
Ick and Krick punish weak interrupts. If Death Bolt keeps going off, your healer starts seeing their ancestors.
Tyrannus is all about proper movement. Blue circles belong on corpse piles, and Army of the Dead is not the time to improvise.
Tanks set the pace. Face danger away, use defensives early, and keep the battlefield playable.
⚡ Pit of Saron Quick Guide!
✂️📋Copy-paste ready!

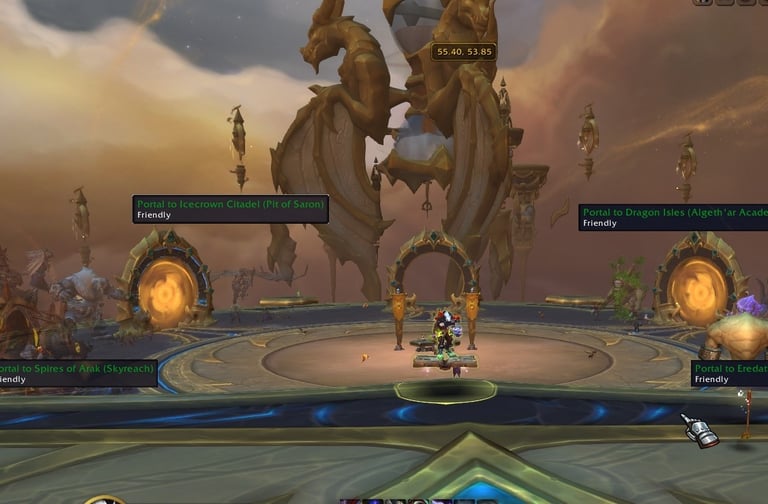
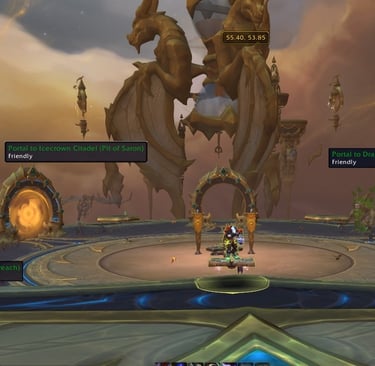
📍Pit of Saron Location
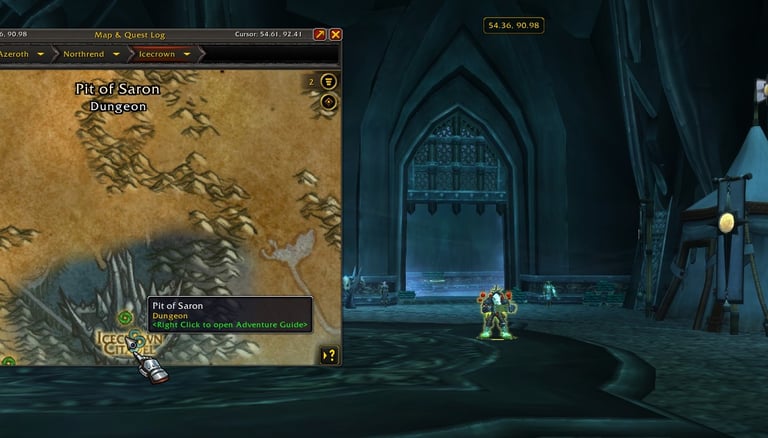
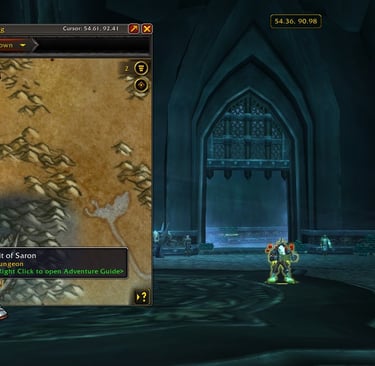
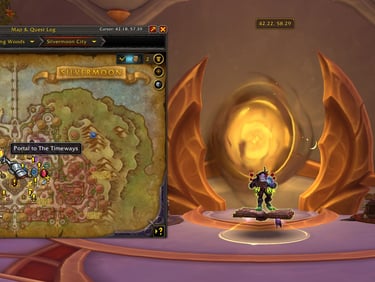
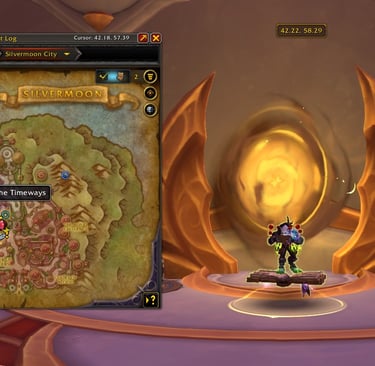
To get to Pit of Saron in WoW Midnight, use the Timeways portal hub in the renovated Silvermoon Portal Room. This portal takes you directly to the entrance area of the Season 1 legacy dungeons. Coordinates below:
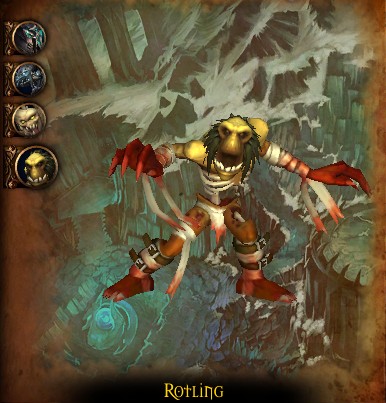
Trash, Pull Control, and How Groups Throw Keys Away Early
Trash in Pit of Saron exists to punish groups that think they can coast between bosses.
The basic rule set stays simple. Avoid frontals, interrupt dangerous casts, stack packs when it is safe, stun them, and burn them down together. Healers should clear curses, bleeds, and dangerous debuffs quickly, while tanks should point frontals away from the group and use defensives before large pulls become a frozen emergency room.
One trash note worth calling out is the large bat grab. If Plungegrip starts hauling someone off, the cast becomes interruptible partway through, and a quick kick solves the problem before it becomes a dramatic kidnapping. That is much better than watching a teammate get carried away while everyone discusses whose interruption it “should have been.”
If the quarry is full of undead labor camps, plague, and giant bats, and your group still decides awareness is optional, then fate is not the villain here.
Abilities that Remove Bleed
Bleed effects are typically considered "physical" and cannot be dispelled by standard magic cleanses. Only a few specific tools exist to remove them:
Evoker: Cauterizing Flame is the only targetable, class-wide ability that explicitly removes all bleed effects (along with poisons, diseases, and curses) on a 1-minute cooldown.
Dwarf & Dark Iron Dwarf:
Paladin:
Blessing of Protection (BoP) removes physical debuffs, including bleeds, from the target.
Divine Shield (Bubble) clears all debuffs on the Paladin
Mage
Ice Block removes all debuffs, including bleeds, from the caster.
Abilities that Remove Curse
Several classes have dedicated abilities to dispel Curse-type debuffs from allies:
Mage: Remove Curse is available to all specs.
Druid: Remove Corruption removes Curses and Poisons. Restoration Druids use Nature's Cure, which adds Magic removal to the same button.
Shaman: Cleanse Spirit removes Curses. Restoration Shamans upgrade this to Purify Spirit, which also removes Magic effects.
Evoker: Cauterizing Flame removes Curses in addition to its bleed-cleansing properties.
Most other healers (Priests, Paladins, Monks) cannot remove Curses unless they use a specific racial ability (like Dwarf) or an immunity.
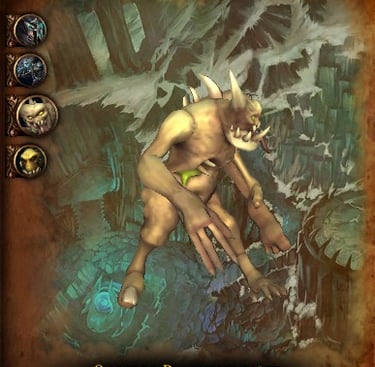
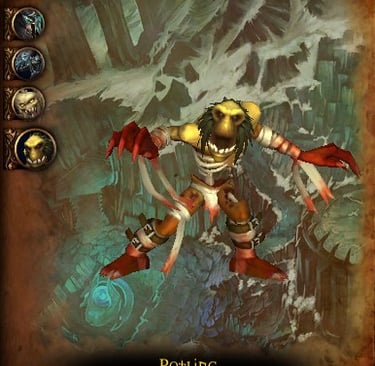
How to defeat
Forgemaster Garfrost
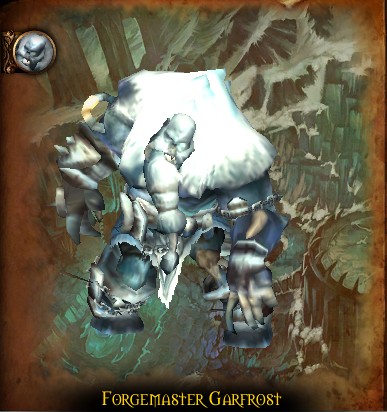
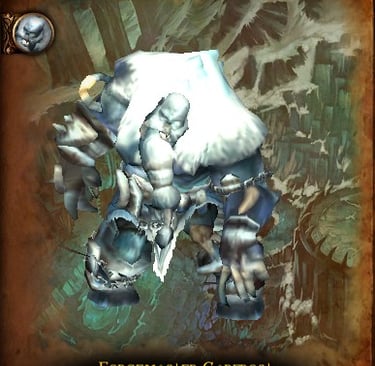
Forgemaster Garfrost opens the dungeon by asking one very important question: Can your group place rocks properly?
This fight revolves around Throw Saronite, Glacial Overload, Orebreaker, floor danger, and Cryoshards.
Lust on pull is completely fine here. When two players get marked by Throw Saronite, place those large ore rocks in useful central positions so the group can later hide behind them for Glacial Overload. If the rocks land in terrible spots, the fight becomes much harder for no good reason.
Tanks should be ready for Orebreaker and use a defensive properly. If possible, overlap with one of the large ore rocks to help prevent the stun and keep control of the pull. When Glacial Overload targets you with the blue ray, hide behind one of the big ore rocks. Not beside it, not near it, behind it. The frozen beam is not interested in half measures.
Everyone should also dodge the brown circles on the ground, and Cryoshards should be dispelled fast. This boss is not hard because the mechanics are confusing. It is hard because bad rock placement turns every later mechanic into a public complaint.
Lust at pull if available.
Throw Saronite - Two team members will be marked with a yellow arrow with a circle, position it in the middle. It will be used to dodge Glacial Overload.
Orebreaker Tanks use defensives and overlap one of the Big ore rocks to prevent stun.
Glacial Overload - Blue ray on you, hide behind the Big ore rock
Avoid brown circles on the floor.
Dispel Cryoshards ASAP.
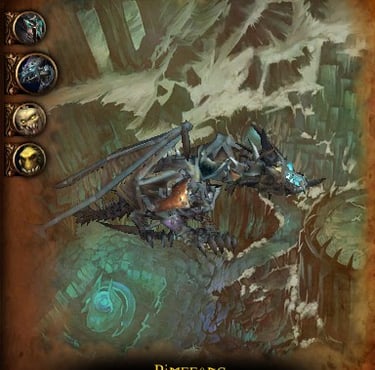
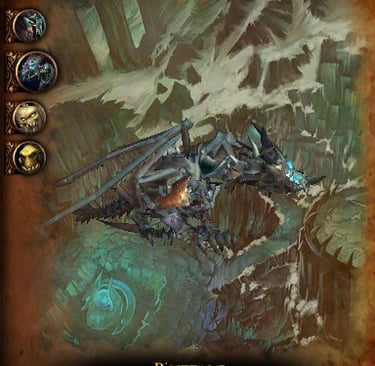
How to defeat
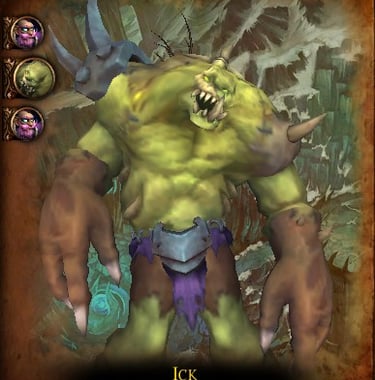
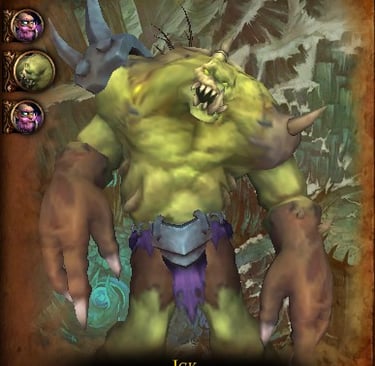
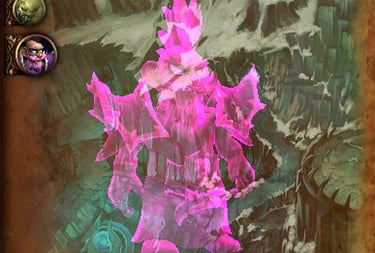
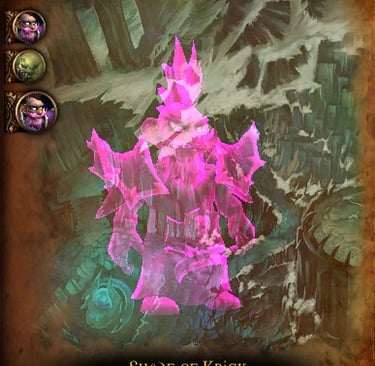
Ick and Krick
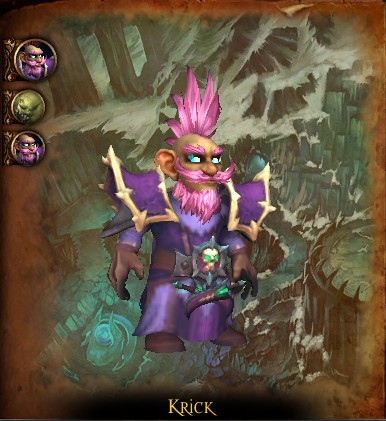
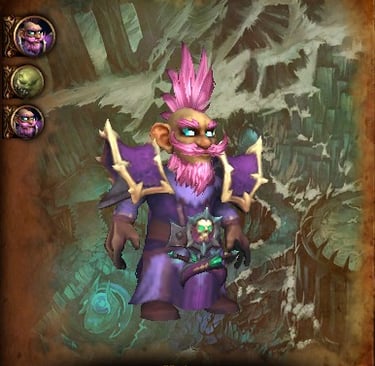
Ick and Krick are the dungeon’s reminder that shared health does not mean shared mercy.
Since Necrolink ties them together, cleave is your friend here. Hit both, keep damage efficient, and do not waste the gift of free overlap.
The biggest problem in this fight is Death Bolt. Sit on Krick’s casts and interrupt them cleanly. If that spell keeps finishing, the room starts feeling far more hostile than it needs to. Adds using Shadowbind also need to be interrupted and killed fast, because letting extra control and damage pile up is exactly how clean pulls become weird stories.
On top of that, dodge Plague Expulsion puddles, and tanks should be ready with defensives for Blight Smash. When Get 'Em, Ick! happens and the big one starts fixating, kite the boss cleanly instead of dragging the danger through the whole team like a parade of poor decisions.
This fight rewards groups that keep moving without panicking. Interrupt the nasty cast, clear the extra mobs, avoid the green filth, and let the shared health do the rest.
These two got shared health Necrolink cleave 'em as much as possible.
Sit Krick's and Interrupt its Death Bolt.
Interrupt and kill adds Shadowbind.
Dodge green puddle - Plague Expulsion.
Tanks pop defensives on Blight Smash.
For Get 'Em, Ick! , the little guy will jump on Big One and will fixate on someone. Just kite the boss around.
How to defeat
Scourgelord Tyrannus
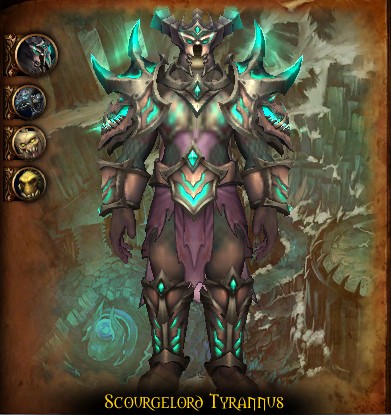
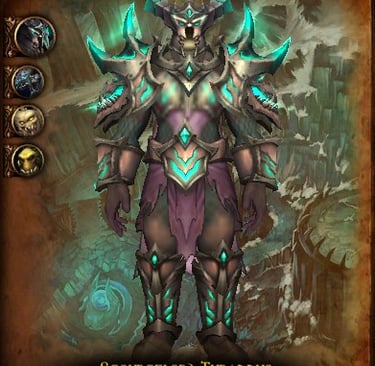
Scourgelord Tyrannus closes the dungeon by turning corpse piles into survival tools, which is exactly the sort of frozen nonsense this place enjoys. The big mechanics are Rime Blast, Army of the Dead, and fast control of the summoned adds.
Lust on pull is a sensible plan here. If Rime Blast marks you with the blue circle, move onto one of the green corpse piles. That is the correct drop point, and missing it makes the room much harder to manage for everyone else. This is not a personal mechanic. It is a group-respect mechanic.
During Army of the Dead, tanks should use defensives and move toward a corpse pile area, ideally one with the most coverage. Then the whole group needs to kick, crowd control, and kill the adds as fast as possible. This phase gets ugly when players treat the undead like background decoration instead of active problems.
Tyrannus is a very honest final boss. Put the circle in the right place, play the add phase properly, and the fight feels controlled. Ignore the corpse-pile logic, and suddenly the whole room looks like a bad winter decision.
Lust at pull if available.
If you get the blue Circle Rime Blast, move on top of one of the Green Piles - Bone Piles
During Army of the Dead Tanks pop some denfensives and move to one of the Bone Piles the one with more piles.
Kick/Interrupt, CC, and kill adds ASAP

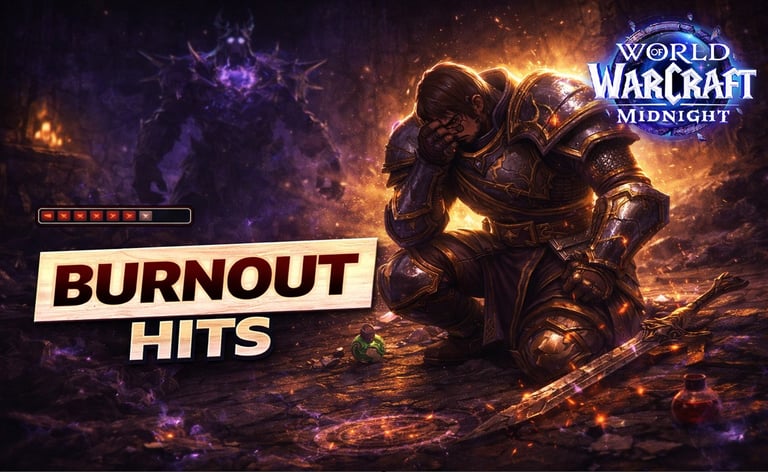
Handling the Burnout: How to Manage Failures
The Midnight Nemesis and the Mage Tower fights are not tests of your gear; they are tests of your patience and muscle memory.
Expect to wipe.
A lot.
Here is how to stay sane and turn those "Defeat" screens into a "Victory."
📍🖱️Read more about Handling the Failure Burnout
📜FAQ / Quick Tips
Is Pit of Saron in the current Mythic+ pool?
Yes. It is one of the active legacy dungeons in Midnight Season 1.
Did Pit of Saron reopen in stages for Midnight?
Yes. It reopened on Normal first, and Heroic plus Mythic unlocked when Season 1 began.
Any recent dungeon note worth knowing?
Yes. A March 26, 2026 hotfix fixed an issue where pet pathing could sometimes fail when attacking Garfrost and Scourgelord Tyrannus.
What usually wipes groups here?
Usually one of three things, bad ore placement on Garfrost, missed Death Bolt interrupts on Ick and Krick, or dropping Tyrannus mechanics away from the corpse piles.
LIVE LONG, PLAY WOW

✎ᝰ About the Author
Noob Sidious is a veteran World of Warcraft player, husband, and father. With a few years of experience working in technology, including QA engineering, programming, and data analysis, Noob Sidious brings a unique blend of gaming expertise and tech-savvy humor to the WoW community. Known for his sarcastic wit, he turns even the most epic wipe into a legendary tale. When he's not dominating Azeroth or cracking jokes, you’ll find him balancing family life and crafting content that entertains, educates, and connects WoW players, all while embodying the Emperor’s style.

✨ Legendary Screen-Free Reset ✨
The Legendary Screen-Free Reset brings together fun, challenging, and themed word search puzzle books designed for relaxation, brain training, and entertainment.
And you will also support this project.
Perfect for adults, teens, and older kids, these puzzle books are created with easy-to-read print, making them accessible to casual solvers and puzzle lovers alike.
Whether you’re looking for a thoughtful gift, a screen-free activity, or just a way to unwind, the Legendary Screen-Free Reset is your best pick.

❤️ Maintaining this PROJECT takes more mana than a Disc Priest in a 10-minute raid encounter. If you’ve found my guides helpful, AND LIKE THE PROJECT, consider tossing a Major Mana Potion (or some real-world gold) my way to keep the servers running!
© 2025 WoWPrime. All rights reserved. Live Long, Play WOW
⚠️ Disclaimer
wowprimer.com is an independent, fan-driven project created for entertainment, commentary, and educational purposes. We are not affiliated with, endorsed by, or officially connected to Blizzard Entertainment, World of Warcraft, or any other companies mentioned on this site, unless explicitly stated.
All trademarks, copyrights, logos, names, and images are the property of their respective owners. Any use of these elements is made under Fair Use principles for the purposes of review, commentary, news reporting, and non-commercial fan expression.
Some articles, reviews, or recommendations may contain affiliate links or sponsored mentions. If you click on these links and make a purchase, we may earn a small commission at no additional cost to you. We only feature products, services, or experiences we genuinely believe may be of interest or value to our readers.
All content is provided “as is” for informational and entertainment purposes only and should NOT be considered official advice, endorsement, or representation of any third-party company.
SUBSCRIBE
We accept USDT or any token on the BNB Smart Chain.